Stone Soap

Jura Cream Honed Limestone Floor Renovation South Kilworth

Honed Jura Cream Limestone Tiled Floor Renovated in South Kilworth

This is a Honed Cream Jura Limestone floor in the Kitchen of a property in the village of South Kilworth outside of Lutterworth. Our customer asked us to renovate the floor and resolve a couple of issues they were having.
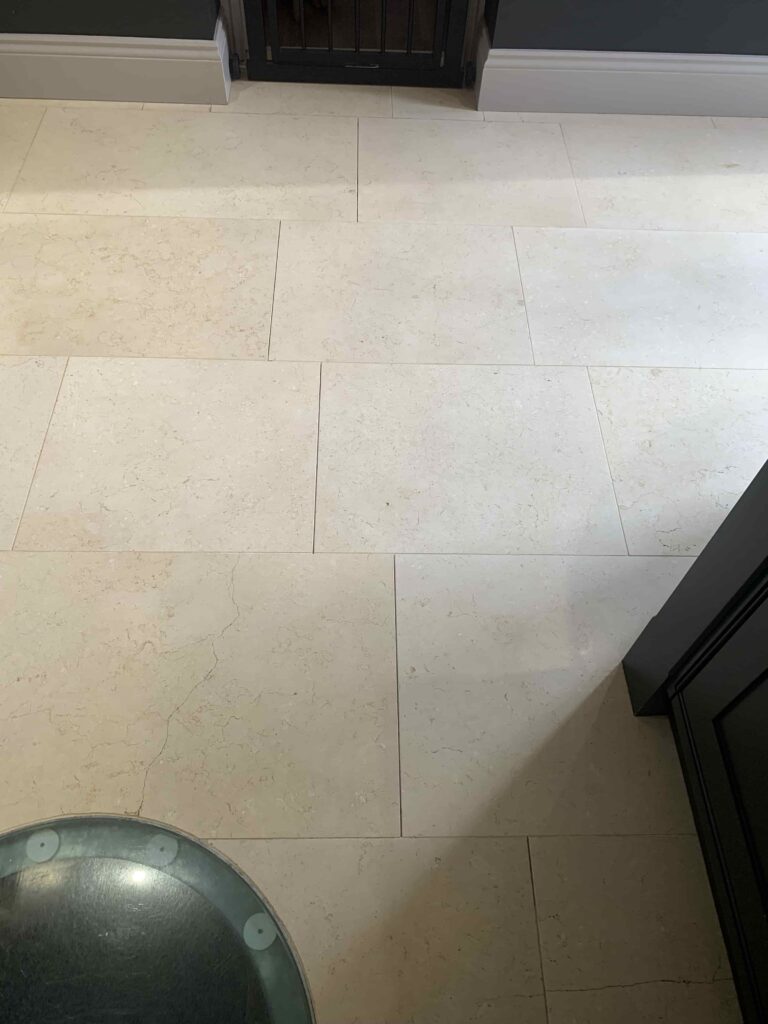
Jura Cream Honed Limestone Floor Before Renovation South Kilworth

The grout was the main area of concern, some parts had failed and needed replacing and the rest just needed cleaning. There were scratches on some of the Limestone tiles that also needed attention. The stone itself was in good condition but as it hadn’t been professionally cleaned and sealed for seven years it was overdue a refresh.

Renovating Grout on a Jura Limestone Floor

Work started with cleaning the grout lines which was done by manually scrubbing in a 1:4 dilution of Tile Doctor Pro-Clean with a stiff brush. This product is a very effective alkaline tile and grout cleaner product that releases the dirt ingrained into the cementous surface of the grout. When we were happy with the result the soiled cleaning solution was removed with a wet vacuum and the floor washed with clean water.

Jura Cream Honed Limestone Floor During Grout Cleaning South Kilworth Jura Cream Honed Limestone Floor During Grout Cleaning South Kilworth

The next step was to sort out the cracked and heavily stained grout by raking it out with a special tool and then replacing. I also dealt with several structural movement cracks in the limestone tiles at this point by filling with a colour matching stone resin filler.

Removing Scratches from Honed Jura Limestone Tiles

Attention then turned to removing the light scratches and etching with an abrasive 200-grit diamond pad. This pad is applied using a weighted rotary floor machine that can grind, hone & polish natural stone. It’s applied with water for lubrication which turns into a creamy slurry that is rinsed off with water and then extracted with a wet vacuum.

With the scratches removed the tiles were then burnished with a 400-grit pad to create a satin low light reflection finish across the whole floor. As before the resulting slurry was removed with a thorough rinsing and wet vacuuming.

Sealing Cream Jura Limestone Floor Tiles

After the floor had dried the stone and grout was sealed using Tile Doctor Ultra-Seal, several coats were applied until the stone had reaches its saturation point. We chose Ultra-Seal for this floor as its almost invisible and doesn’t darken the colour of the stone at all, which is exactly that natural look finish the customer wanted.

Jura Cream Honed Limestone Floor During Grout Cleaning South Kilworth Jura Cream Honed Limestone Floor During Grout Cleaning South Kilworth

Although it’s probably difficult to appreciate the improvement to the floor from these pictures my customer was certainly happy. In fact, they mentioned that it had never looked as good as it does now.
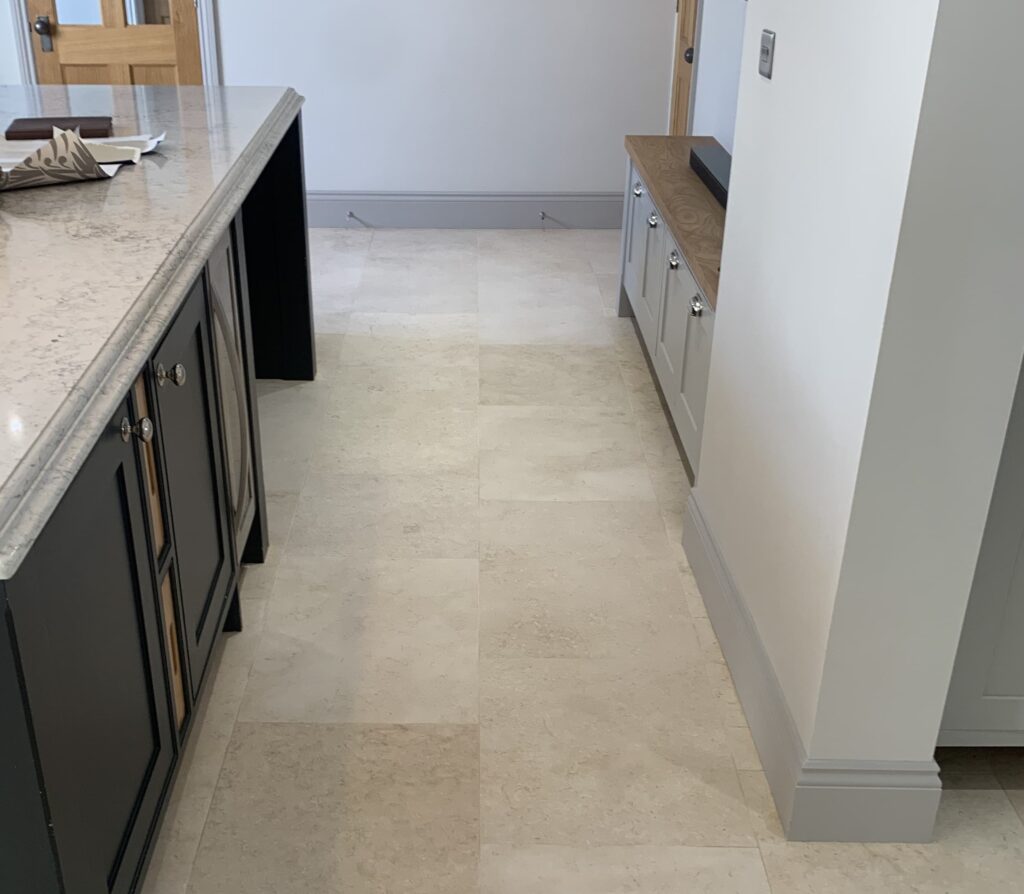
Jura Cream Honed Limestone Floor During Grout Cleaning South Kilworth

We recommend re-sealing every five years as sealers will eventually wear down, especially in high traffic areas. We do however offer an annual maintenance clean & top up sealer treatment which is ideal for maintaining the appearance of highly polished natural stone floors.

This particular sealer is an impregnator that soaks into the pores of the stone, thereby preventing dirt from becoming ingrained there. This will protect from liquid-based surface spills & soil penetration ensuring dirt remains on the surface where it can be easily cleaned away.

On the subject of cleaning, I left a bottle of Tile Doctors pH Neutral Stone Soap with the customer. This product is designed for the cleaning of sealed stone floors and will help maintain the integrity of the sealer whilst building a slight patina on the stone. It’s important to use the correct maintenance cleaner as stronger products will weaken the sealer and if correctly used the sealer may last up to five years

Honed Jura Cream Limestone Tiled Floor Renovated in South Kilworth Read More »

Edwardian Terrazzo Hallway Floor Renovated in Knighton

Cracked Edwardian Terrazzo Hallway Floor Renovated in Knighton Leicester

The pictures below are of an Edwardian era Terrazzo hallway floor in the Knighton near Leicester which we recently renovated for a client.

Edwardian Era Terrazzo Floor Before Renovation Knighton Leicestershire

Knighton is a small residential suburb of Leicester that dates to the Doomsday book. It was once a separate village but over the years the area has built up and it is now linked up with two other villages. During the Victorian period there was a greater demand for housing due to the expanding industrial and agriculture sectors which led to its growth.

The Terrazzo floor looked to be in good condition but as with many of these old floors it had suffered from movement at some point in its long life. This resulted in cracks and it had also sustained damage from when a carpet had once been tacked down on the floor.

Cracked Edwardian Era Terrazzo Floor Before Renovation Knighton Leicestershire

I visited the site to see the extent of the work required; I was confident I could fill the cracks and get a much better surface to the floor. I gave them a price which they were happy to accept.

Cleaning and Repairing an Edwardian Terrazzo Floor

Work started by filling up the cracks where possible, for this we used closely matching marble chips & resin adhesive. This is a successful method and helps to maintain the original style and colour of the traditional Terrazzo floor. The floor was then left to dry before we started the cleaning process.

Edwardian Era Terrazzo Floor Before Renovation Knighton Leicestershire

Deep cleaning involved wetting the floor with a strong dilution of Tile Doctor Pro-Clean and allowing it to soak in for ten minutes so it can make a start on breaking down the dirt that had build-up in the floor. The cleaning solution is then worked in using a rotary machine fitted with a Black scrubbing pad and release the dirt. The floor is then rinsed with water and the soil is extracted using a wet vacuum. Once done the floor is inspected and the process repeated on stubborn areas.

We followed this with the burnishing process to remove light wear, scratches, and acid etching. To do this a four step Diamond burnishing pad system from Tile Doctor is applied that gradually refines the surface with application of different grades of diamond encrusted pads. Only water is used during the process and the floor is rinsed and extracted after each pad.

Edwardian Era Terrazzo Floor During Renovation Knighton Leicestershire

Sealing an Edwardian Terrazzo Floor

The client wanted a high polish finish which we achieved by burnishing using the last of the set of burnishing pads which is a 3000 grit. This last pad is applied using only a little water sprayed onto the floor and it leaves the floor dry and ready for sealing.

The Terrazzo floor was then sealed using several coats of Tile Doctors Colour Grow, this is a colour enhancing impregnating sealer that’s fully breathable and therefore idea for older floors like this one that won’t have had the benefit of a damp proof membrane installed.

Edwardian Era Terrazzo Floor After Restoration Knighton Leicestershire Edwardian Era Terrazzo Floor After Restoration Knighton Leicestershire

Finally, we left instructions on maintenance along with a bottle of Tile Doctors Stone Soap to clean the floor without damaging the sealer. This would ensure the floor maintained its new finish. The client was very happy with the newly renovated floor and was very pleased they had called on Tile Doctor to carry out the work, they were confident they could maintain it moving forward.

Edwardian Era Terrazzo Floor After Restoration Knighton Leicestershire


Professional Restoration of an Edwardian Tiled Hallway in Leicestershire

Cracked Edwardian Terrazzo Hallway Floor Renovated in Knighton Leicester Read More »

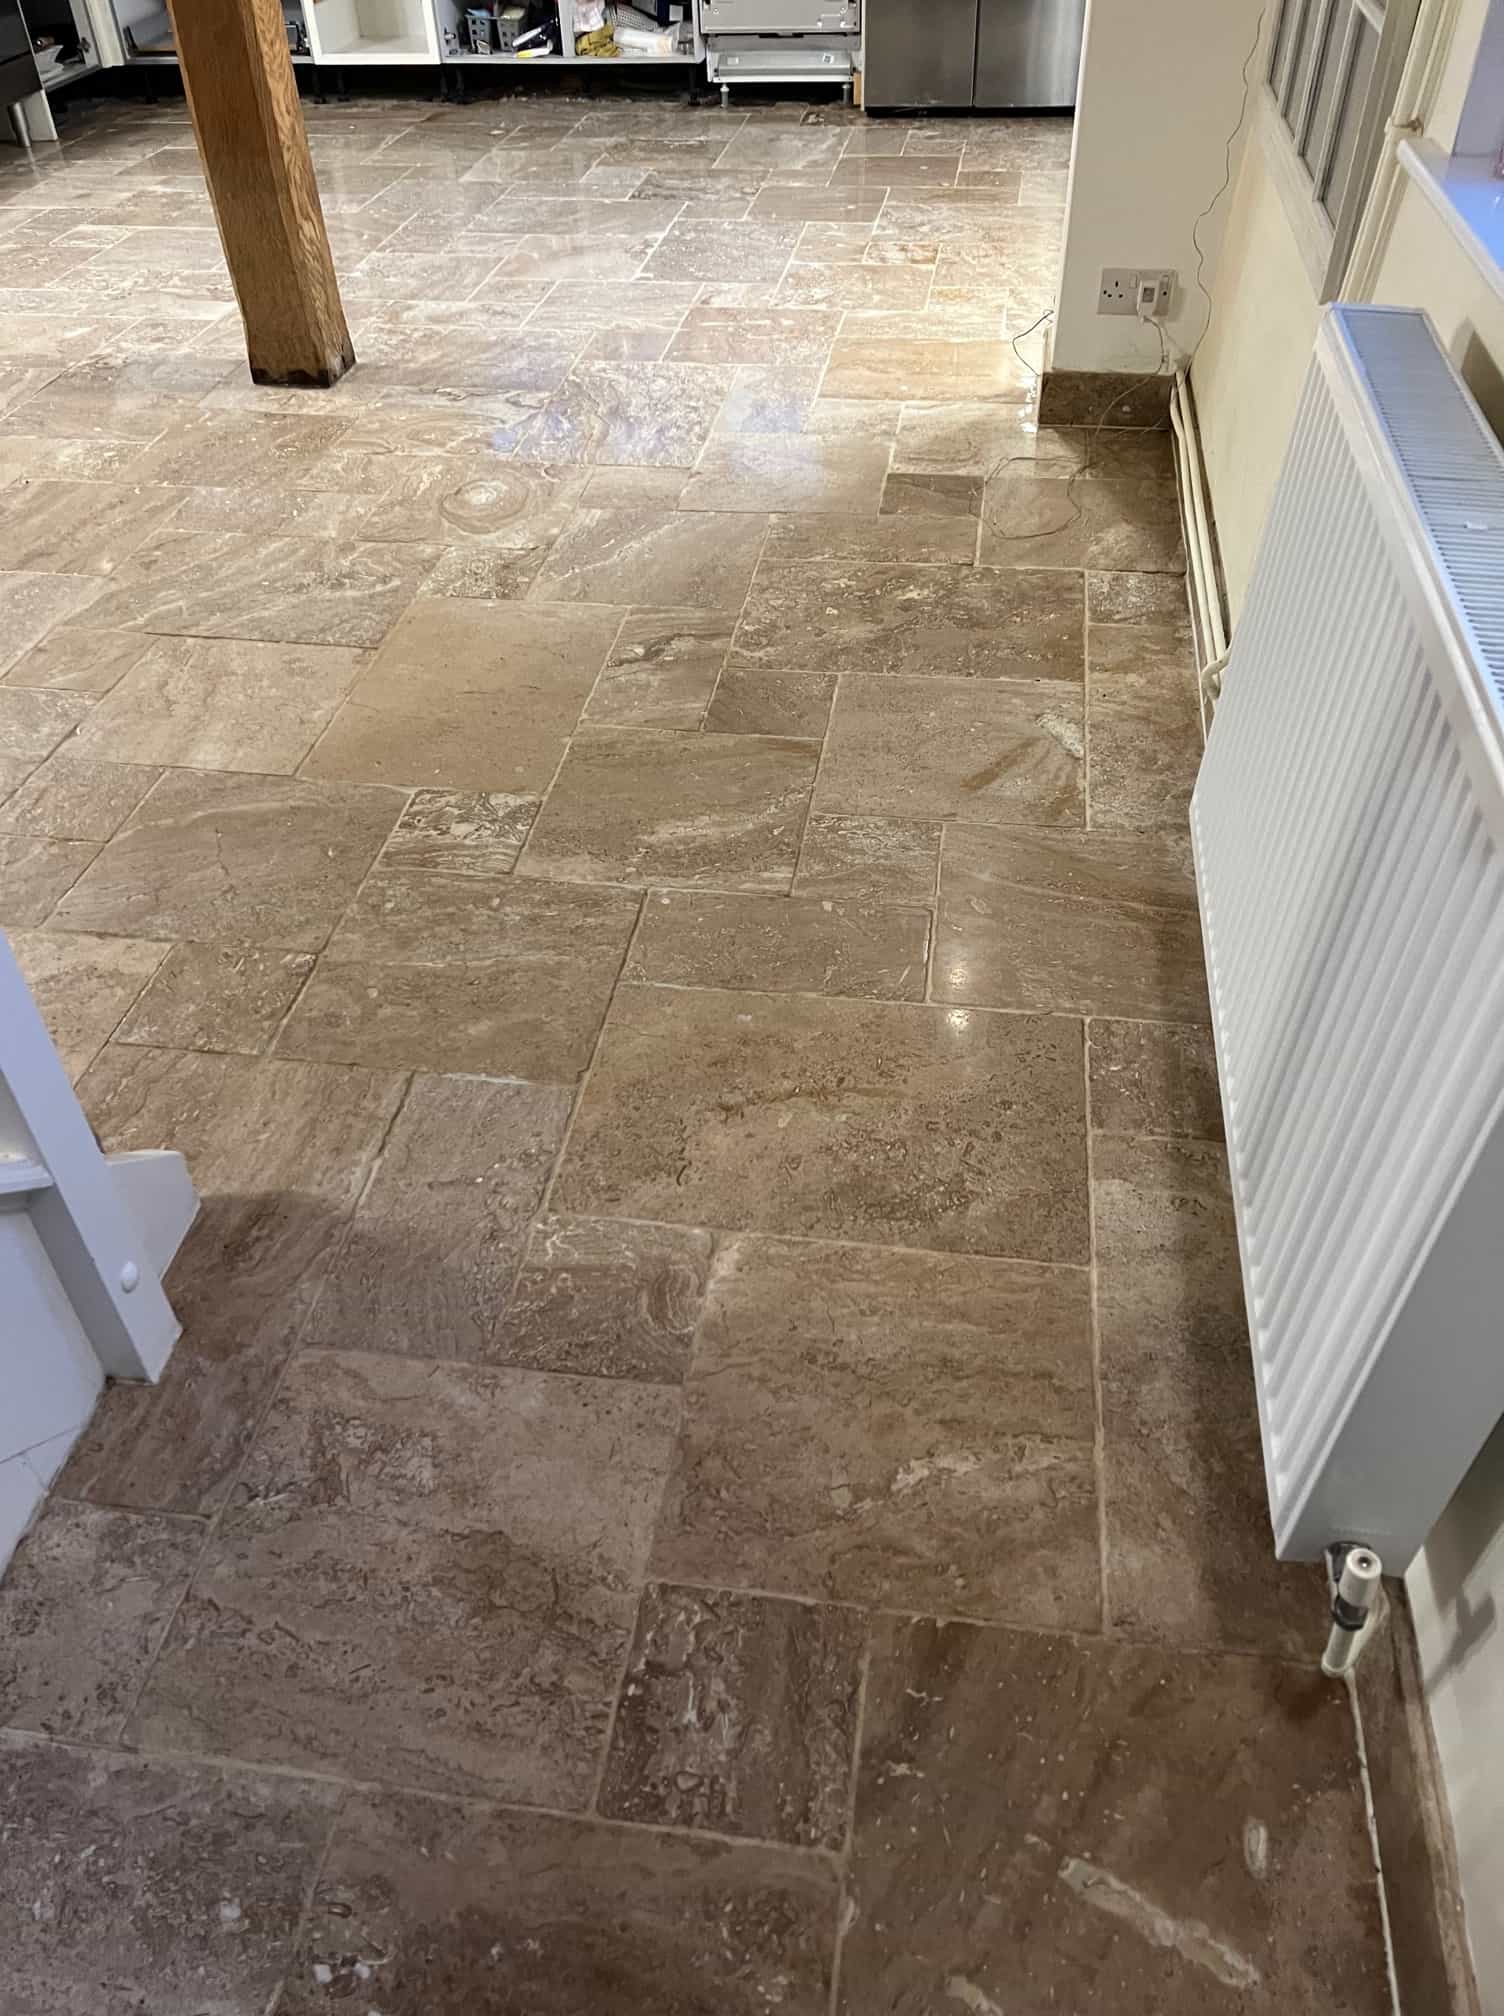
Travertine Kitchen Floor Before After Refinishing Kings Norton Leicester

Travertine Tiled Kitchen Floor Refinished in Kings Norton

The photographs below are of a Travertine tiled floor installed in the kitchen of a 17th century cottage in the small Leicestershire village of Kings Norton.  The owner had called us in to deep clean and refinish the Travertine tiles which had become soiled, dull, the grout had darkened in places and there were lots of holes that needed filling.

This issue is quite normal for a natural stone floor which benefits from having a sealer in place to stop dirt from becoming trapped in the pores. Travertine can also suffer from pitting which are small holes in the surface of the tile, these pits attract dirt and should be filled to prevent that happening. With Travertine especially you need to ensure a neutral ph. cleaner is used as anything stronger can exacerbate the problem.

Deep Cleaning a Travertine Tiled Floor

The first job was to give the floor a thorough clean with a particular focus on the grout and pitting. It was clear the sealer had pretty much worn off over time so Tile Doctor Pro-Clean was applied using a 1:4 dilution with water. The solution was left to soak into the floor for ten minutes first to help break down the soil build-up. The Pro-Clean was then worked into the Travertine tile and grout using a floor buffing machine fitted with a Black scrubbing pad and extra weights to increase contact.

Travertine Kitchen Floor Tile Refinishing Kings Norton During Cleaning Travertine Kitchen Floor Tile Refinishing Kings Norton During Cleaning

The soiled cleaning solution was then rinsed off and the soiling extracted using a wet vacuum. This process was repeated until I was happy the stone and the grout were as clean as possible.

With the dirt removed it made it easier to highlight the holes that needed to be filled. For filling I used a straw-coloured resin glue which matched the natural colours of the Travertine very well. Once the resin has set the next move was to burnish the stone to further clean it, remove light scratches and generally improve its appearance. This process also helps the filled pits blend in with the stone.

Travertine Kitchen Floor Tile Refinishing Kings Norton Before Cleaning Travertine Kitchen Floor Tile Refinishing Kings Norton After Filling

Burnishing the floor involves stripping back the stone using a coarse 400-grit diamond encrusted burnishing pad and then building up the finish with a medium 800-grit pad to restore the finish and add the light sheen our customer had requested. The floor was given a light rinse and extraction in-between pads and then a thorough rinse afterwards to remove the slurry generated during burnishing.

Sealing Travertine Kitchen Floor Tiles

The floor was left to dry off naturally and we returned later to apply a sealer which for this floor the customer had requested a natural finish. After ensuring the floor was dry it was then sealed to saturation point using Tile Doctor Ultra-Seal which is an impregnating sealer that penetrates deep into the pores of the stone to ensure dirt cannot become ingrained there. This sealer doesn’t alter the look of the stone resulting in the natural appearance the customer had specified.

Travertine Kitchen Floor Tile Refinishing Kings Norton After Cleaning Travertine Kitchen Floor Tile Refinishing Kings Norton After Cleaning

I left a bottle of Tile Doctor Stone Soap for aftercare cleaning; this is a ph. neutral product that will gently clean the stone and improve patina. If your going to use a supermarket cleaning product always read the label and ensure they are compatible for use with sealed natural stone.


Professional Maintenance of Travertine Floor Tiles in Leicestershire

Travertine Tiled Kitchen Floor Refinished in Kings Norton Read More »

Scroll to Top